Updated: June 9, 2026
Your First Week: From Sign-Up to “My First Signal Arrived”
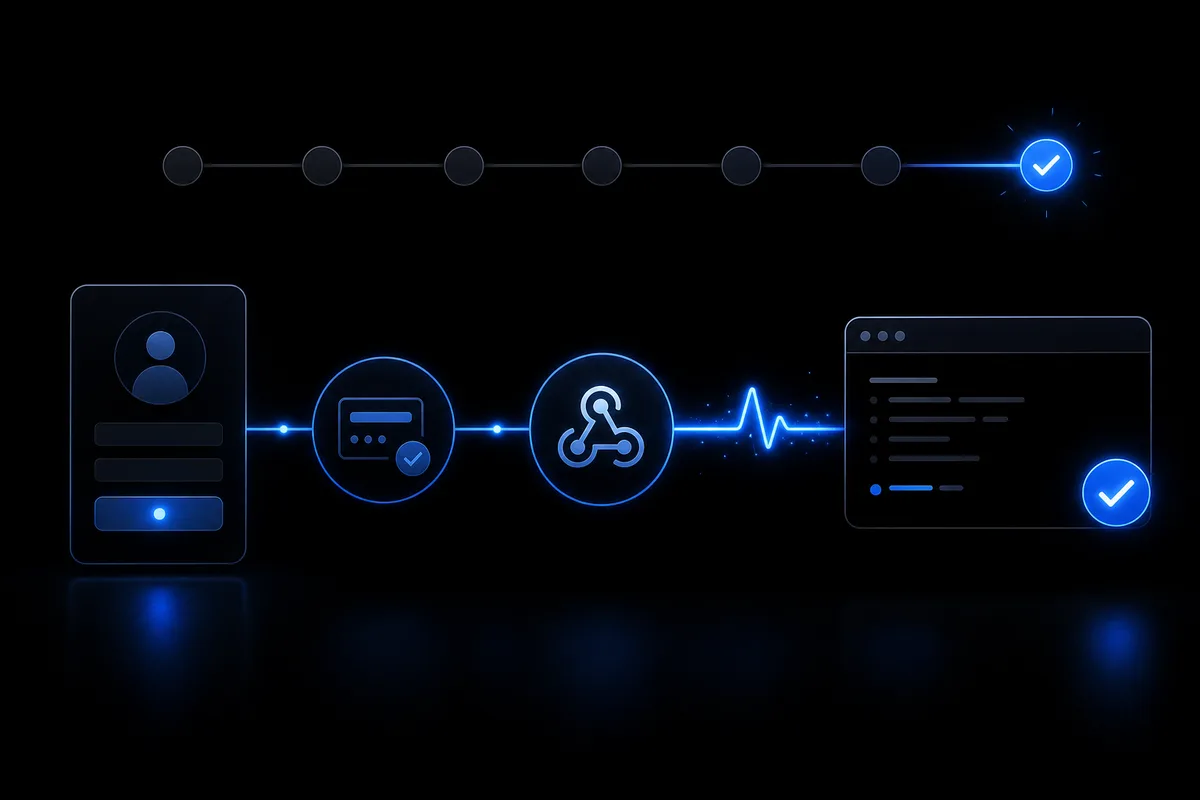
Skip live lot size on day one. A one-week path focused on registration, connectivity, and test sends — so you feel the system move before you optimize.
Jumping straight to live lot size is common. I did it. Now my rule is: week one is connectivity, not profit. That first moment a TradingView Webhook signal lands — this is how I structure that week.
Day 1: account and connection
Sign up — free plan is enough. Follow the getting started guide and create one connection. Copy the Webhook URL and token to a notes app. Do not paste into TradingView yet. Order matters.
Days 2–3: EA and matching token
Download the EA, attach it in MT5, match the token to your connection. Confirm auto-trading is ON — an easy miss. I used a demo account first. Live can wait until delivery is proven.
Day 4: dashboard test send
Do not wait for TradingView. Use dashboard test send. Most auto-trading anxiety is “will it arrive?” One log line changes the mood.
Reading logs
Timestamp plus action in reception log means webhook success. Check EA logs for MT5 side. One-sided success is normal until you debug. Then reread the matching section in the setup guide.
Days 5–7: TradingView test
After test send works, paste the URL into a TradingView alert. A noisy condition is fine — you only need one fire. Minimum lot. Ignore profit. Goal: your signal became the intended action in your account. That is the week.
Minimum lots and EA permissions vary by broker account. Read terms first.
No need to finish everything in one day. A successful handshake becomes the foundation for everything after. Stuck? Contact us with log screenshots.
MARONII WEBHOOK TERMINAL
Relay TradingView alerts to MT5 / MT4 / cTrader automatically. Start on the free plan.